
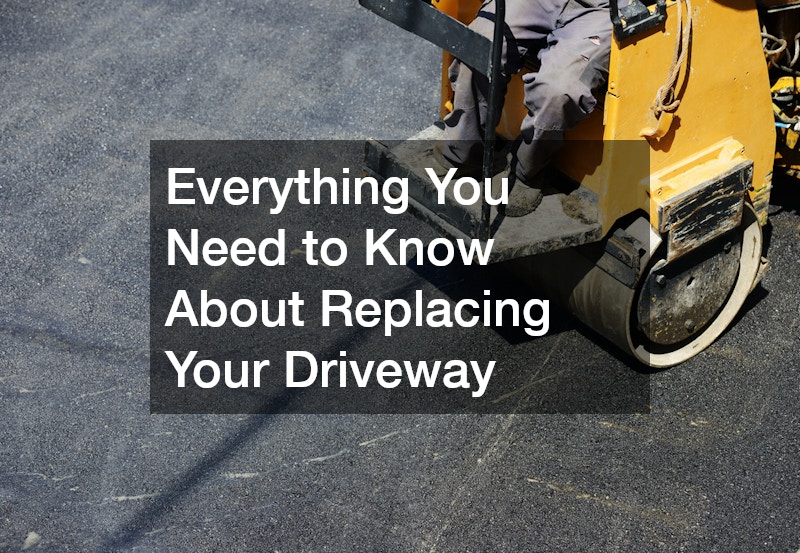
Your driveway is the literal and figurative welcome mat to your home. It bridges the gap between the public street and your private sanctuary. Yet, despite its prominence, it is often one of the most neglected elements of exterior home maintenance. An unkempt, crumbling, or heavily stained surface can instantly detract from your property’s curb appeal, making even the most meticulously maintained house look tired and aged. However, the issues with a failing driveway extend far beyond mere aesthetics.
Ignoring a deteriorating surface can lead to a cascade of expensive and dangerous problems. Jagged cracks and potholes present serious tripping hazards for your family, guests, and delivery drivers, opening you up to potential liability. Vehicles are not immune either; uneven surfaces can knock tires out of alignment and cause premature wear on suspension components. Most critically, a driveway that fails to drain properly can direct thousands of gallons of rainwater directly toward your home’s foundation, leading to basement flooding, mold growth, and severe structural degradation.
Replacing this essential structure is not a weekend DIY project; it is a major investment in your property’s infrastructure. To ensure that investment yields decades of reliable service, you need to understand the mechanics of pavement. This comprehensive guide will walk you through everything you need to know about the process. We will cover how to objectively evaluate your current damage to determine if a tear-out is truly necessary, how to select the best materials for your specific climate and budget, the non-negotiable steps of foundation preparation, and the rigorous maintenance schedules required to protect your new surface for years to come.
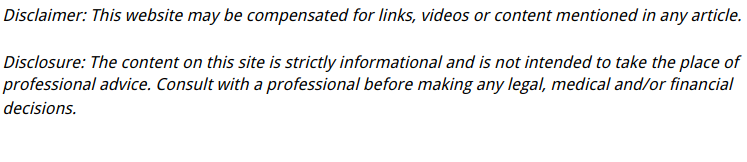
Evaluating Your Current Surface: When to Patch and When to Tear It Out
The first step in any major home renovation is a brutally honest assessment of the current conditions. It is tempting to look at a few cracks and assume a bucket of cheap filler from the hardware store will solve the problem. However, applying a topical band-aid to a structural failure is throwing money away. You must learn to read the warning signs your driveway is giving you to determine whether a repair is feasible or if you are facing a total replacement.
Measure the Depth and Width of Existing Cracks
Cracks are the early warning system of pavement failure. As a general guideline, the “quarter-inch rule” is your best diagnostic tool. Inspect the cracks crisscrossing your surface. If they are less than a quarter of an inch wide and relatively shallow, they are likely cosmetic surface fractures caused by normal expansion and contraction. These can typically be cleaned out and filled with a high-quality liquid crack filler to prevent water from entering.
However, if the cracks exceed a quarter of an inch in width or depth, you are looking at structural compromise. Pay special attention to the pattern of the cracking. Interlocking, web-like fractures that resemble the scales on a reptile are known in the industry as “alligator cracking.” This pattern is a definitive sign that the sub-base beneath the surface has failed and can no longer support the weight of vehicles. When alligator cracking is present, patching is futile because the foundation itself is moving. In these instances, you should have a local paving contractor evaluate the extent of the sub-base failure. They can core-drill the area to see if the entire base is saturated with water or if the original aggregate layer was simply installed too thinly.
Check for Drainage Issues and Pooling Water
Water is the ultimate enemy of any paved surface. A properly installed driveway should shed water immediately, directing it toward the street or municipal storm drains. The next time it rains heavily, grab an umbrella and walk outside to observe how your driveway handles the runoff.
If you notice large puddles forming in the center of the surface or water aggressively washing over the edges and carving out trenches in your lawn, your driveway has lost its grading. Pooling water usually indicates that the earth beneath the surface has settled, sunk, or washed away entirely, creating a depression. In colder climates, this pooled water will eventually seep into microscopic pores, freeze, expand, and shatter the surface from the inside out. If your foundation is compromised to the point of severe sinking and pooling, resurfacing over the top will only replicate the dip. You will need to bring in a driveway replacement service to completely excavate the old material, regrade the soil, and rebuild the base from scratch to re-establish the proper slope.
Material Selection: Balancing Upfront Costs With Long-Term Durability

Once you have determined that a full replacement is necessary, you are faced with the most significant decision of the project: choosing the surface material. This choice will dictate the upfront cost, the visual aesthetic, and the ongoing maintenance requirements for the next several decades. There is no universally “perfect” material; rather, the best choice depends heavily on your geographic location, your budget, and your willingness to perform routine upkeep.
Match Your Material to Local Freeze-Thaw Cycles
Climate should be the primary driving factor in your material selection. If you live in a region that experiences harsh winters with frequent freeze-thaw cycles, flexibility is paramount. During the winter, the ground beneath your driveway will freeze, expand, and heave upward. In the spring, it will thaw and settle back down. If your surface material is entirely rigid, this movement will cause it to snap and break.
Blacktop is incredibly popular in northern and midwestern climates precisely because it remains somewhat pliable after curing. It can bend and flex slightly with the shifting earth without cracking. Furthermore, its dark color absorbs the sun’s radiant heat, helping to melt snow and ice much faster than lighter materials. Because climate plays such a vital role, top-tier asphalt paving companies will customize the chemical mix of their product—adjusting the ratio of aggregate to liquid binder—to specifically withstand the rapid temperature fluctuations of their exact geographic region. Conversely, in extreme southern climates where summer temperatures soar, blacktop can become dangerously soft and tacky, making rigid options a safer bet.
Calculate the True Lifetime Cost of the Surface
When budgeting for this project, looking only at the initial installation price is a mistake. You must calculate the lifetime cost of the material, factoring in required maintenance, repairs, and total lifespan.
Blacktop is generally the most cost-effective option upfront, typically running between $4 to $6 per square foot. However, it requires significant maintenance. It must be cleaned, edged, and chemically treated every few years to prevent the binder from oxidizing and drying out under the sun’s UV rays. Its lifespan usually maxes out at 20 to 25 years before another replacement is needed.
On the other end of the spectrum, rigid poured materials cost significantly more to install—often ranging from $8 to $15 per square foot, depending on the finish and reinforcement. However, the lifetime cost often evens out. While hiring a concrete contractor requires a larger initial capital investment, a properly poured and steel-reinforced slab can easily last 40 to 50 years. It does not require routine chemical treatments to maintain its structural integrity, making it a “set it and forget it” option for homeowners who plan to stay in their houses for decades and want to avoid ongoing maintenance chores.
Preparing the Foundation: The Most Critical Step of Your Project

The most beautifully finished surface in the world will fail within a year if it is poured over a weak foundation. The longevity of your driveway is almost entirely dictated by the dirt and stone beneath it—the elements you will never see once the project is finished. Homeowners often focus entirely on the top layer, but monitoring the preparation of the sub-base is where you must be the most vigilant during the construction process.
Demand a Minimum Base Thickness of Four to Six Inches
The earth beneath your property, known as the subgrade, is rarely strong enough to support the weight of two-ton vehicles on its own, especially when wet. Therefore, an artificial foundation must be constructed. This process begins with excavating the topsoil, which is full of organic matter that decomposes and shifts over time. Once the topsoil is removed, the contractor should lay down a heavy woven geotextile fabric. This fabric prevents the native soil from mixing with the new stone base, ensuring the foundation remains stable and drains properly.
Next comes the crushed aggregate base. This should consist of jagged stones of varying sizes that lock together tightly when compressed. For standard residential passenger vehicles, you need a minimum of four to six inches of this crushed stone. If you frequently park heavy pickup trucks, boats, or RVs, that base should be increased to eight inches. This stone layer must be ruthlessly compacted using a heavy vibratory roller until it is as hard as cement. A reputable asphalt paving contractor will never cut corners during this stage; they know that pouring material directly over soft dirt or a thin, two-inch layer of uncompacted gravel guarantees the surface will rut, sink, and collapse under the weight of a car.
Ensure Proper Grading to Direct Water Away from Your Foundation
Grading is the mathematical process of sloping the earth so that gravity naturally pulls water exactly where you want it to go. If the grading is incorrect, your new driveway will act as a massive water slide, dumping thousands of gallons of storm runoff directly against your garage doors or foundation walls.
The industry standard for a paved surface is a 2% slope. This translates to roughly a quarter-inch of drop for every foot of length. This slope must be established in the dirt subgrade and mirrored perfectly in the crushed stone base before the final surface is applied. If your property is incredibly flat, or if it naturally slopes downward toward your house, the installation crew will need to implement advanced water management strategies. This might involve installing subterranean French drains along the borders or setting catch basins into the pavement to capture and redirect water through underground PVC pipes. The level of precision required to ensure proper drainage on a residential property is identical to the rigorous water management engineering utilized in massive commercial parking lot paving projects, where a single grading error can cause catastrophic flooding.
Exploring High-End Upgrades: Interlocking Blocks and Custom Borders
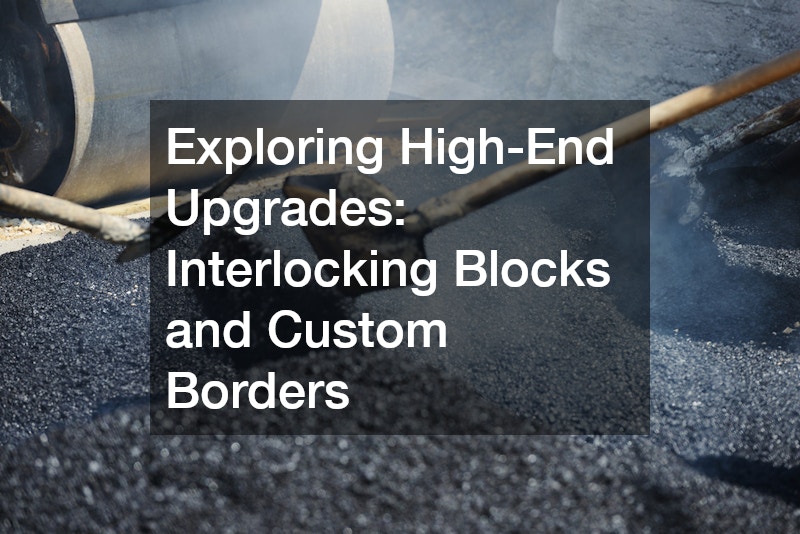
For many homeowners, a standard gray or black slab is perfectly functional but lacks the visual punch desired for high-end landscaping. If you want your driveway to serve as an architectural feature rather than just a place to park cars, there are numerous premium upgrades available. These options allow for extensive customization, integrating patterns, colors, and textures that complement your home’s exterior design.
Select Permeable Options to Solve Runoff Problems
As urban areas become more densely populated, municipal storm sewer systems are increasingly overwhelmed by heavy rainfall. Because traditional pavement is impervious, rain hits it, gathers speed, and rushes into the streets, carrying automotive fluids and debris directly into local waterways. To combat this, many municipalities and strict Homeowner Associations (HOAs) now limit the amount of “impervious surface area” a homeowner is allowed to have on their lot.
If you are expanding the footprint of your parking area or living in an eco-conscious neighborhood, permeable systems are a brilliant solution. These systems utilize interlocking stones designed with small, hollow spacers on their edges. When pieced together, they leave intentional gaps. These gaps are then swept full of fine, clean gravel rather than solid jointing sand. When it rains, the water does not run off into the street; instead, it filters down through the gaps, through the stone base, and naturally recharges the groundwater table below. Utilizing permeable driveway pavers not only solves strict zoning requirements but also practically eliminates the risk of puddling and ice formation on the surface itself.
Lock in Edges with Concrete Restraints to Prevent Spreading
One of the vital things to understand about interlocking block systems is that they are technically “flexible” pavements. They are not glued or mortared together; they rely entirely on friction and tightly packed joint material to remain stationary. Over time, as heavy vehicles drive over them, turn their wheels, and brake, outward lateral pressure is exerted on the stones. If the perimeter of the installation is not securely anchored, the outermost blocks will slowly creep outward into your lawn. Once the edges spread, the tension is lost, the joints open up, and the entire surface will begin to rut and separate.
To prevent this, the perimeter must be locked in place. While some budget installations use cheap plastic edge spikes driven into the dirt, these inevitably heave out of the ground during winter frosts. The professional method is to use a hidden, poured concrete toe-restraint beneath the soil line that encases the bottom half of the perimeter blocks, cementing them permanently in place. When gathering quotes, ensure you choose a driveway paving contractor who explicitly details the use of poured concrete edge restraints in their written contract, as this is the only way to guarantee the long-term structural integrity of a premium block installation.
Post-Installation Care: Extending the Lifespan of Your New Surface
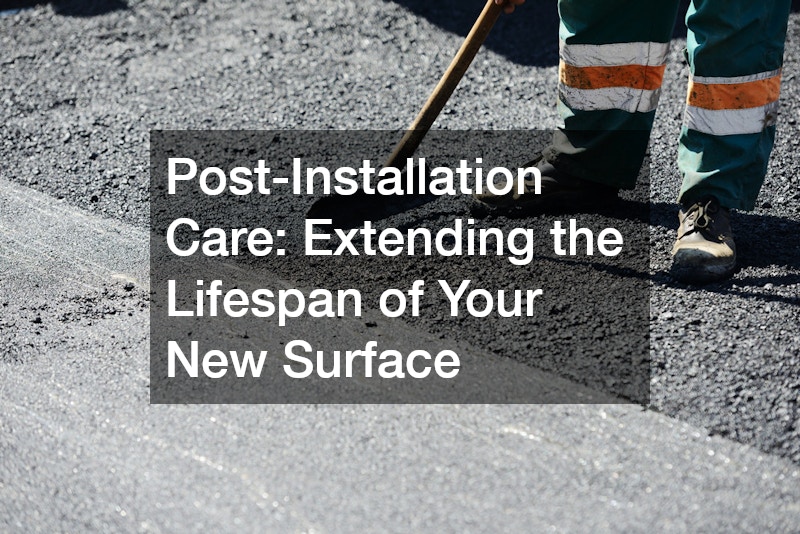
The completion of the installation process is not the end of your responsibilities; it is merely the beginning of your maintenance schedule. Think of your new driveway like a brand-new car: it looks flawless driving off the lot, but if you never change the oil or wash the exterior, it will break down prematurely. Implementing a strict care routine will protect your investment and keep the surface looking pristine for decades.
Wait at Least Six Months Before Applying the First Treatment
A common mistake eager homeowners make is rushing to apply a chemical protectant immediately after their new blacktop is laid down. Fresh pavement is loaded with light oils and volatile compounds that give it its jet-black appearance and flexibility. Over the first several months, these chemicals need to slowly off-gas and evaporate as the material fully cures and hardens.
If you apply a chemical barrier too soon, you trap those volatile oils inside the matrix. This prevents the material from ever fully hardening, leaving the surface permanently soft, sticky in the summer heat, and highly susceptible to deep tire indentations and power-steering tear marks. You must let the surface breathe. A proper schedule for driveway sealcoating dictates that the very first application should not occur until 6 to 12 months after the initial installation. Once that initial curing period is over, you should plan to reapply a protective barrier every two to three years. This treatment acts like sunscreen, blocking the UV rays that dry out the binder, and prevents water from penetrating the microscopic pores of the aging surface.
Clean Oil Spills Immediately with Absorbent Materials
Automotive fluids are the arch-nemesis of paved surfaces. Motor oil, transmission fluid, and gasoline are petroleum-based products. Because blacktop is also held together by a petroleum-based asphalt binder, motor oil acts as a chemical solvent. If oil drips from a vehicle and is left sitting on the surface, it will literally dissolve the glue holding the rocks together, turning a solid surface into loose, crumbly gravel in a matter of weeks.
If a leak occurs, you must act quickly. Do not immediately hit the spill with a high-pressure hose, as this will only spread the oil across a wider area and drive it deeper into the pores. Instead, thoroughly cover the wet stain with an absorbent material like standard clay cat litter, baking soda, or sawdust. Grind the absorbent material into the stain with the heel of your shoe to maximize contact, and let it sit for at least 24 hours to draw the oil out of the pavement. Afterward, sweep it up and scrub the remaining shadow with a stiff-bristled brush and a heavy-duty degreaser or dish soap. If a vehicle has been leaking in the same spot for years and the structural integrity of the pavement is already compromised (meaning you can kick loose rocks away with your shoe), cleaning it won’t be enough. In that scenario, you will need to call a professional sealcoating company to cut out the chemically destroyed section, patch it with hot mix, and apply an oil-spot primer before the rest of the surface can be safely treated.
Conclusion
Replacing an aging, damaged driveway is a substantial undertaking that requires careful planning, a solid understanding of construction mechanics, and a willingness to invest in quality craftsmanship. By taking the time to objectively evaluate the extent of your current damage, you can avoid throwing money at temporary patches that are destined to fail. Choosing the right material for your specific climate and ensuring the foundation is excavated, graded, and compacted to rigorous standards will guarantee a surface that can withstand the daily abuse of heavy vehicles and harsh weather.
While the process may seem disruptive in the short term, the long-term payoff is undeniable. A beautifully installed, structurally sound driveway drastically improves your home’s curb appeal, eliminates safety liabilities, protects your foundation from water damage, and provides a significant boost to your overall property value.
Now that you understand the critical steps involved—from sub-base compaction to long-term chemical maintenance—you are equipped to make informed decisions. Start by measuring your square footage, setting a realistic budget that accounts for proper foundation work, and reaching out to highly-rated local professionals to gather multiple detailed quotes. With the right team and the right knowledge, you can build a welcoming entrance that will serve your home for decades to come.